

Hello!
Recently in class we have started to learn about multiplayer game development. The example shown in class was the classic game Pong, and I thought it would be interesting to try myself.
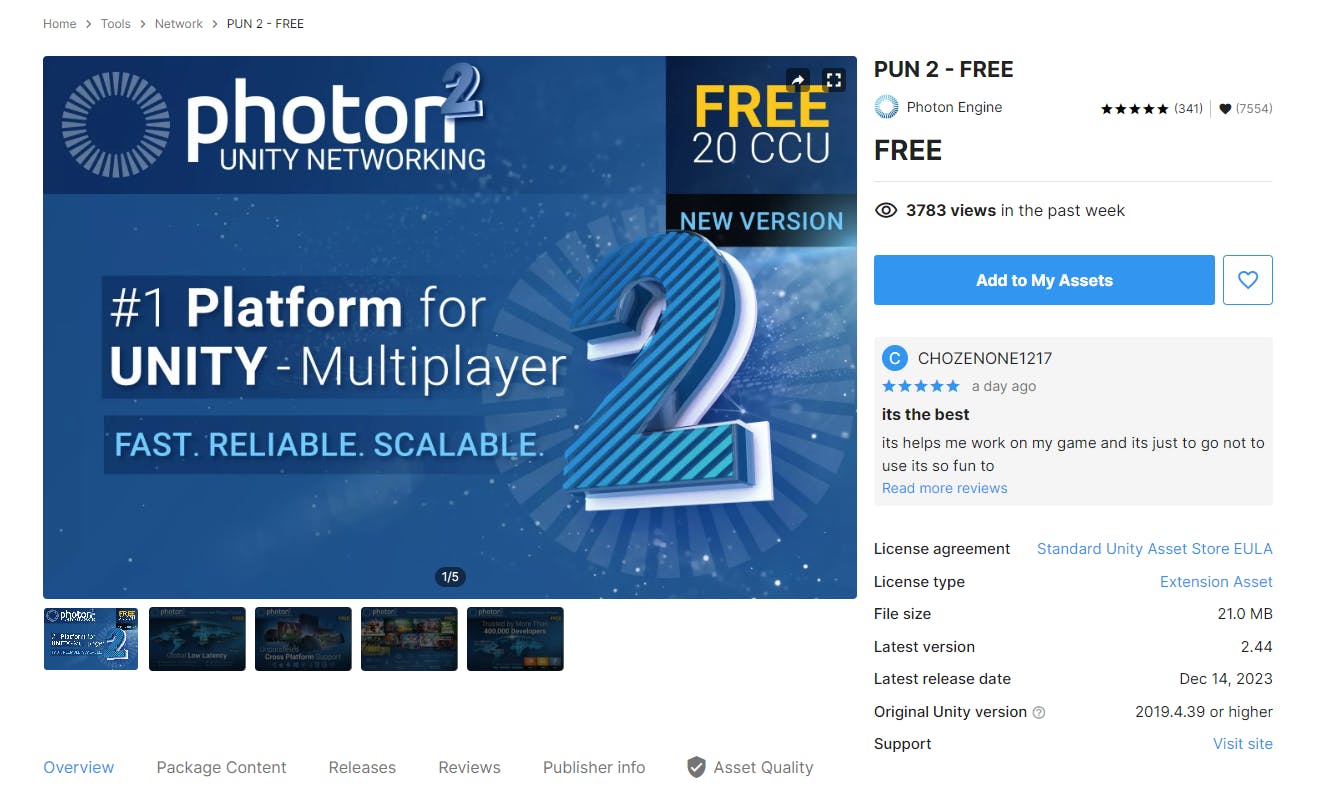
Photon Unity Networking (PUN) is a real-time multiplayer game development framework. One notable advantage of Photon is that it is free to use, making it a good option for learning purposes or indie game development.
The code for this game is found on my GitHub Repository. This is just a rough guide of what I did to make it work for Windows.
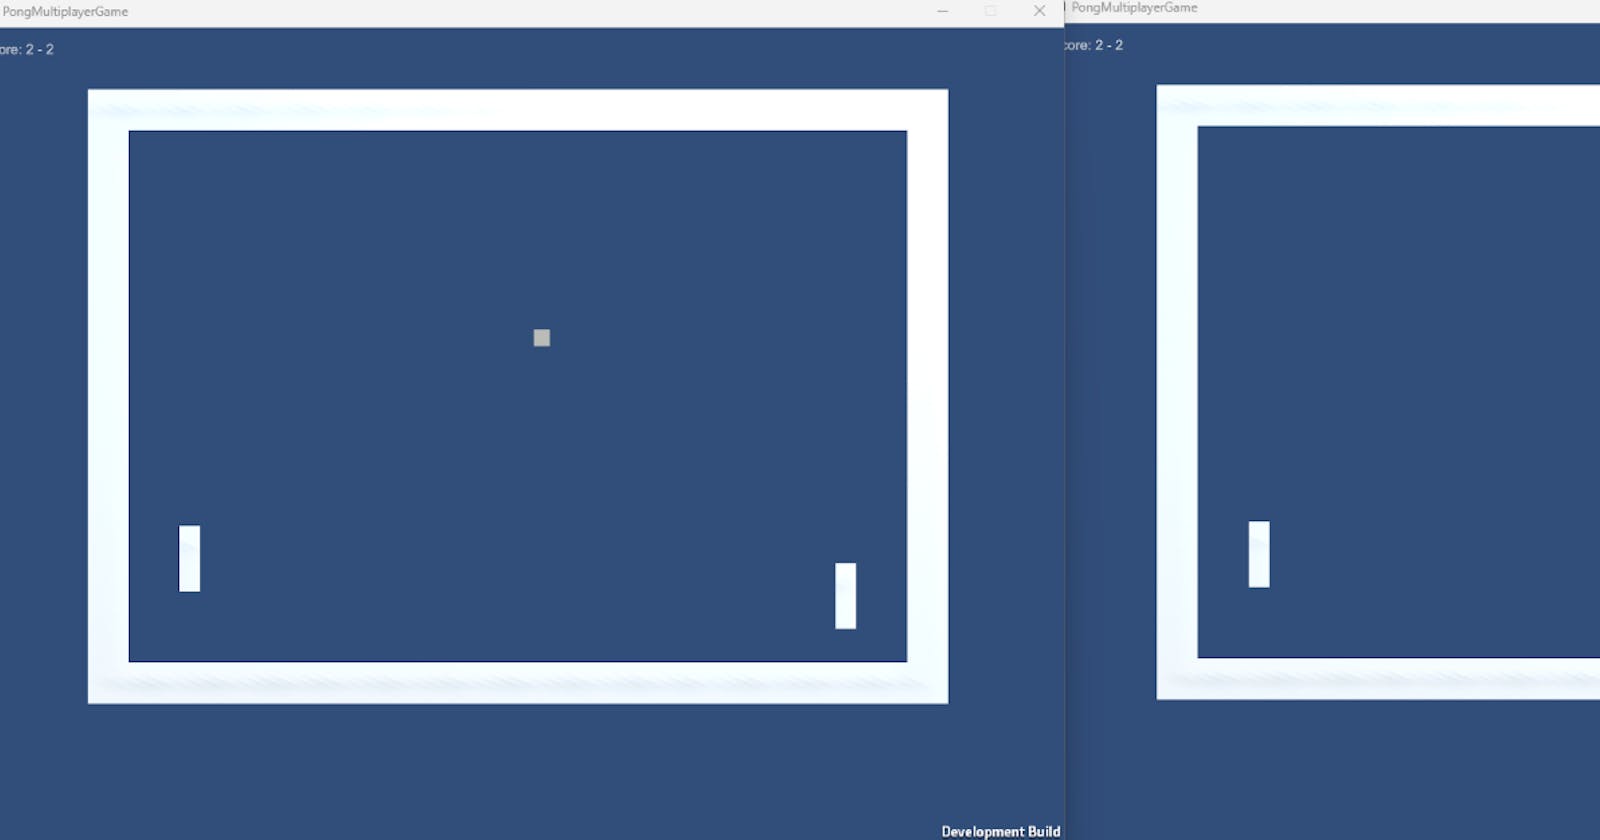
This is what the end result looks like:

The free version of Photon2 can be found on the Unity Asset store. Once imported into a new 3D project in Unity there is a setup where you can add your email, then the setup is complete.
After Setting up Photon I created a simple scene in Unity using 4 3D cubes to represent the walls.
Two more cubes were created, one for the pad and another for the ball. Next, all of the methods in the scripts were implemented so that other players can see what we are doing. The ball and the pad were then made to be Prefabs by dragging them into the Resources folder.
In a nutshell we only need 3 scripts:
A PUN Networking manager. It handles the connection to the Photon server, room creation, joining and lobby management. This script also includes a GUI for creating/joining rooms, displaying room lists and setting player names.
A script attached to the ball prefab to control the ball movement and collisions. It also uses PUN to synchronise the game state across the network.
A script attached to the pad prefab. It controls the paddle movement and also uses PUN to ensure the movement of a paddle is visible to all players.
The provided code snippet is an example of using Photon RPC (Remote Procedure Call) or PunRPC within the context of PUN:
    [PunRPC]
    void ChangeColorTo(Vector3 color)
    {
        GetComponent<Renderer>().material.color = new Color(color.x, color.y, color.z, 1f);
        if (photonView.IsMine) //If I am the local player, call the RPC method. This will make sure that all other players will see the new color of the ball.
        {
            photonView.RPC("ChangeColorTo", RpcTarget.OthersBuffered, color);
        }
    }
PunRPC is used to mark methods that should be called remotelyOnce all the relevant scripts are added and Prefabs dragged into the Inspector the game is read to be built.
Running the game
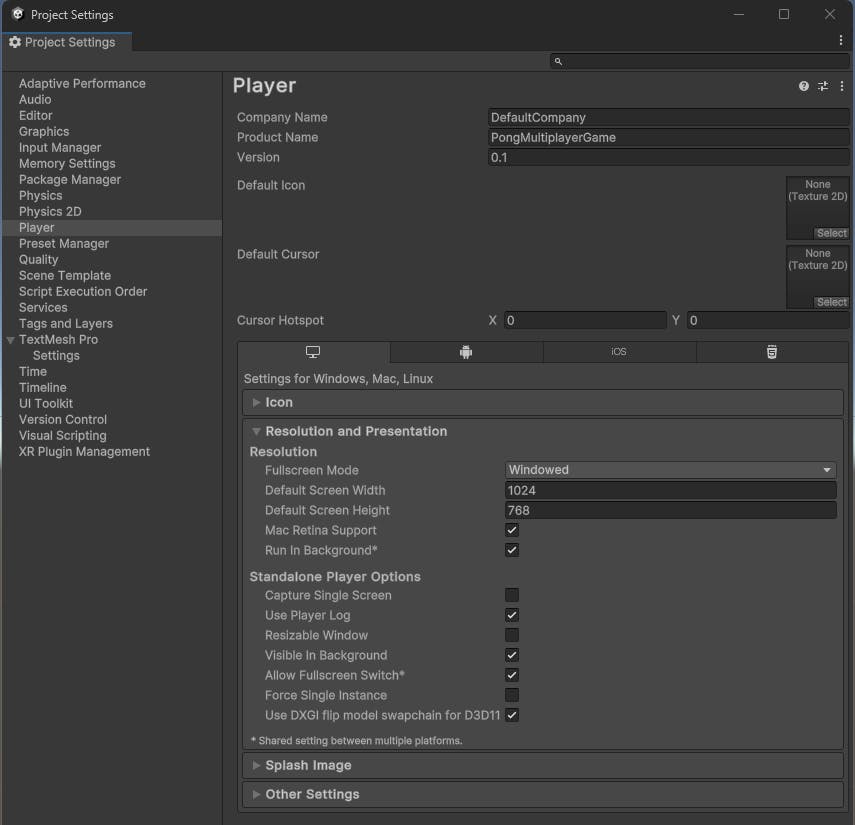
Build the game first for Windows, choosing the Resolution to be Windowed:
Now run the build executable created and we have a windowed pong game!
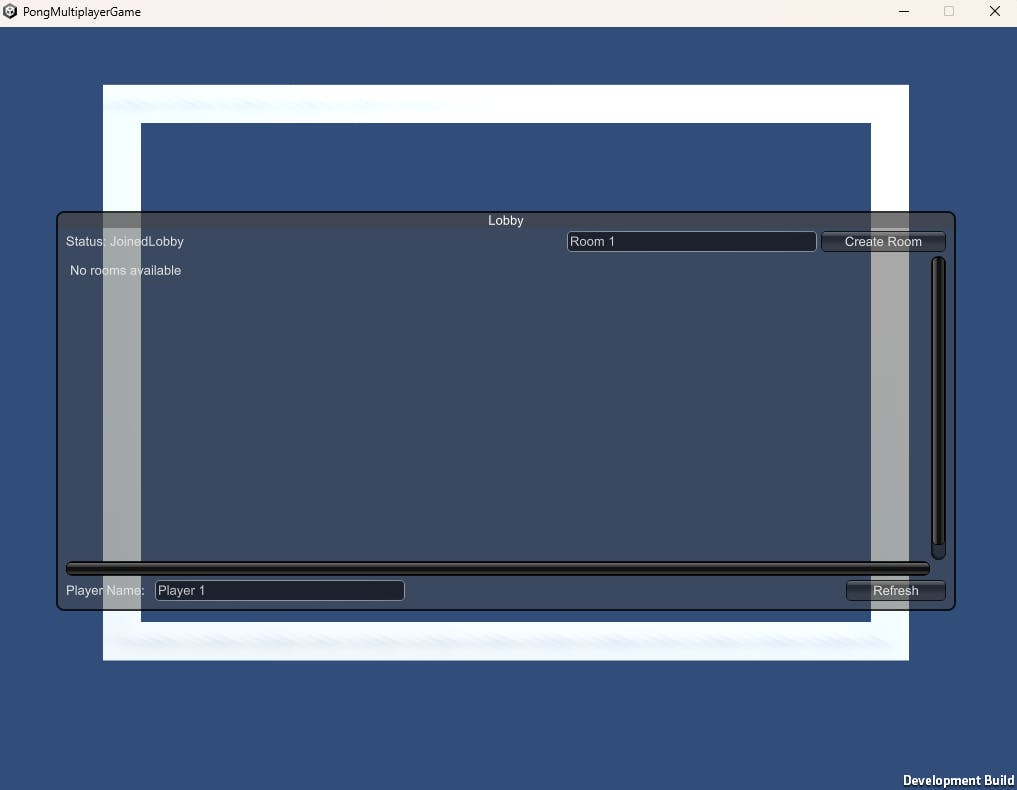
Clicking the build executable again while keeping the previous window open brings up a new window. In this new window another player can join the room just created.

Once the second player has joined the selected room we now have two players and can start the game!
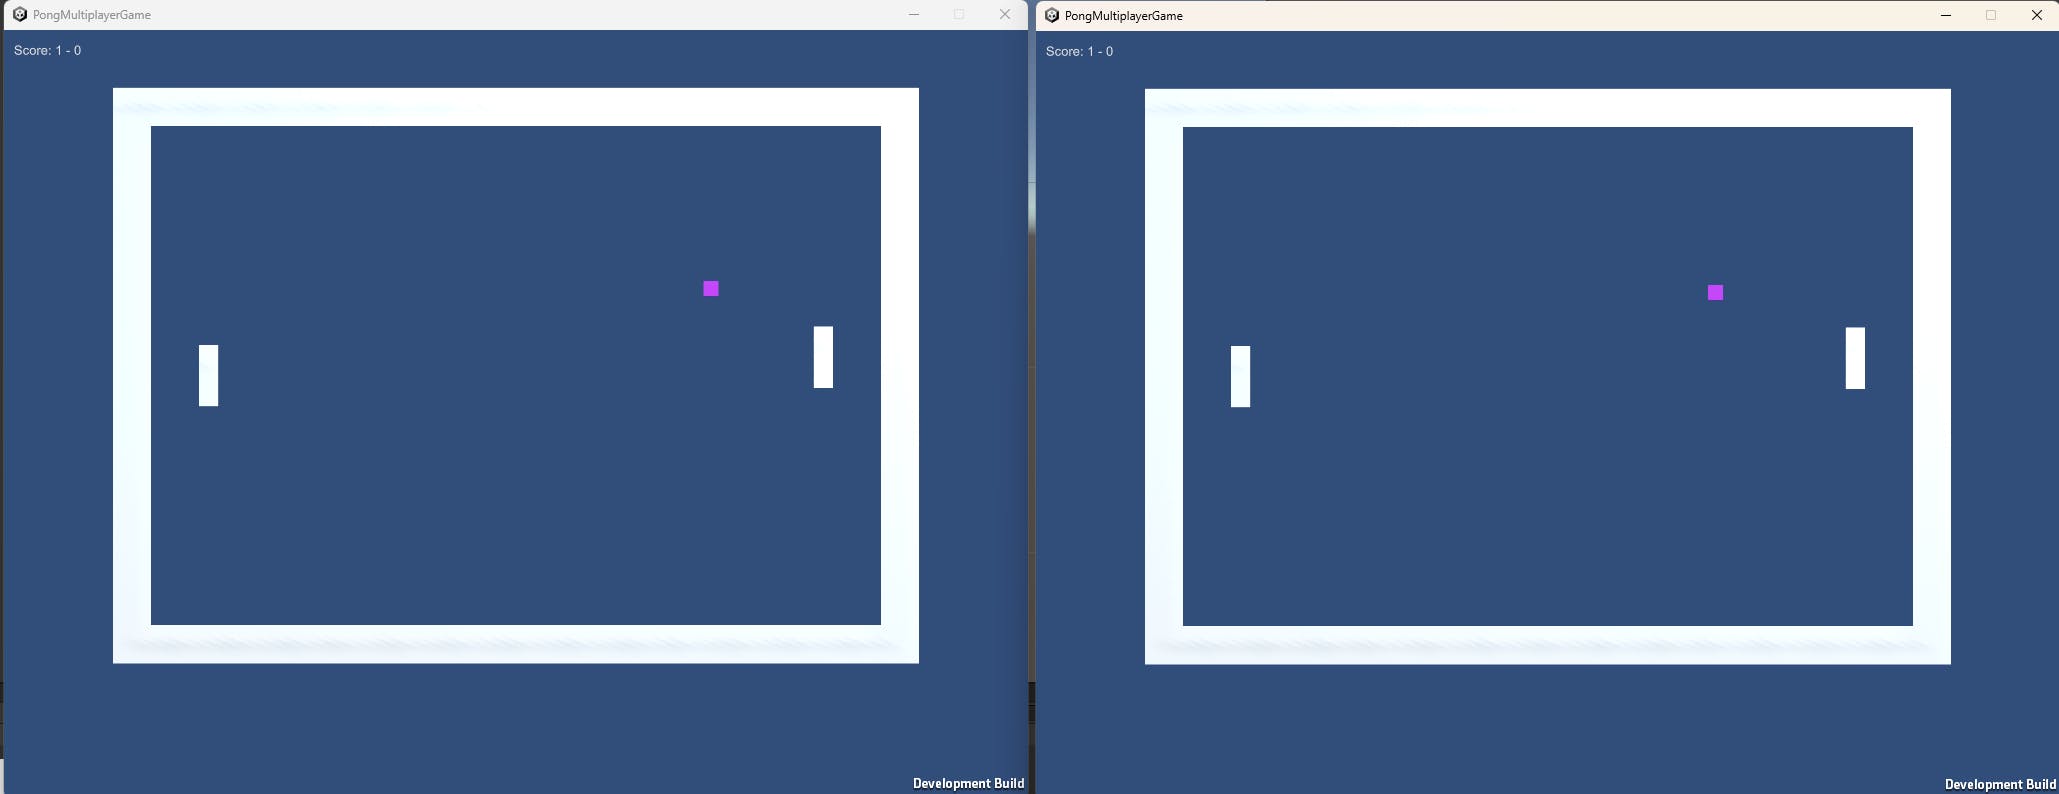
By clicking on a window we can control a panel using the arrow keys.
Conclusions
There is certainly some level of delay when playing Pong. Sometimes it is a bit laggy. But this was fun to try out.
If the collisions were more precise this would make the game more enjoyable also.
This was fairly quick to get working so good for beginners learning about multiplayer games!
Thanks for reading! Check out the code on GitHub here.
Molly